

This shortbread recipe is so easy. It’s crisp, full of sprinkles and holds its shape well, which makes it perfect for cookie stamps. I’ve been obsessed with cookie stamps lately, especially my Pokémon ones! Sometimes I don’t want to decorate with icing; I just want a simple cookie that tastes amazing, and this one has been perfect for me.
I hope you love it! If you try it, let me know what you think.
Some of the links below are affiliate links, meaning, at no additional cost to you, I will earn a small commission if you click through and make a purchase.
Ingredient List:
(Grab the full recipe with amounts at the bottom)
- All-purpose flour
- Table Salt
- Cornstarch
- Unsalted Butter
- Powdered Sugar
- LorAnn Cake Batter Super Strength Emulsion
- Clear Vanilla Extract (or any extract that you like)
- Jimmies (colorful soft sprinkles)
Equipment/Tools:
- Cookie Stamps and Cutters. Mine are from the Pokémon Center but you can use any stamps.
- Electric Mixer (hand or stand)
- Baking Pan
- Rolling Pin with guides
- Parchment Paper
- Wire Rack
- Kitchen Scale
Instructions:
I know a lot of people have a hard time with getting their cookies to hold their shape, so let’s walk thru this one step by step.
1. Combine the dry ingredients
Whisk together the flour, cornstarch and salt. Set aside.
🚨Flour Alert! If you have a kitchen scale, I highly recommend weighing your flour for the best results. If you’re using measuring cups, don’t scoop directly from the bag – that packs in too much flour. Use the ‘spoon and level method’, where you lightly spoon the flour into the measuring cup and level it off with the back of a butter knife.
2. Mix the Butter and Powdered Sugar
Beat the softened butter and powdered sugar together on medium speed until the mixture is smooth and creamy.
3. Add flavorings
Flavoring is important. We’re going without icing here… so add some flavor!
Since these are sprinkle cookies, I want them to have that nostalgic cake flavor that we all love. I went with clear vanilla extract and cake batter flavoring. I like the LorAnn Cake Batter Super Strength Emulsion – it’s SO good! (I found the McCormick Cake Batter extract to be milder and it’s dyed yellow which tints the dough yellow)
4. Mix in the dry ingredients
Slowly add the dry ingredients a little at a time and mix until everything comes together. Scrape the bowl around the sides and bottom as needed.
5. Add sprinkles
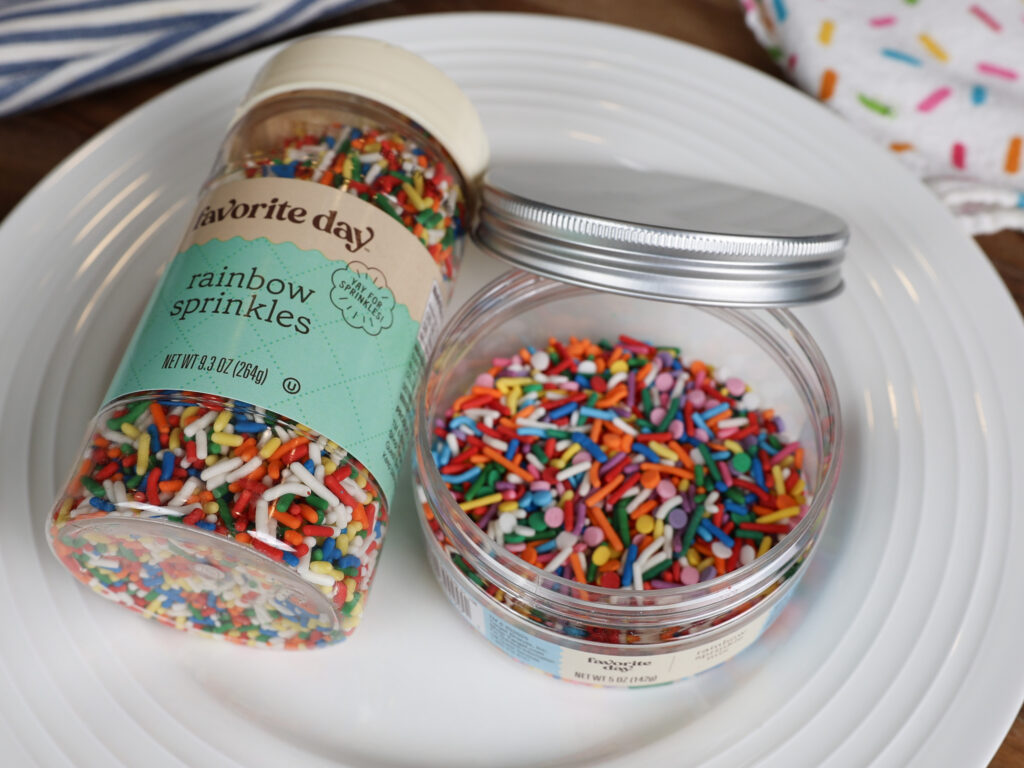
First (and this is important!) taste your sprinkles to make sure they taste good and are fresh. Some taste bad and it will ruin the delicious cookie. (The Betty Crocker ones are the worst- Blech!)
I also like using jimmies with bright colors. Some mixes have brown mixed into the rainbow sprinkles and they’re just not as pretty. The ones I’m using had little confetti bits in them which were pretty but kinda crunchy.
Mix in the sprinkles on low speed, and resist the urge to dump in extra because too many can cause the cookie to spread.
6. Roll out the dough
Place the dough between two sheets of parchment paper and roll to your desired thickness. I like mine rolled out to 5/16” thick (a little thicker than 1/4”) but 1/4” will work too.
If you have a guided rolling pin, that will come in handy right now.
Transfer the whole sheet to the fridge to chill for 1 hour.
7. Stamp and cut out the cookies
Let the dough sit out for a few minutes so it’s soft enough to stamp but still has a chill to it. I keep my kitchen very cold, so for me, it’s usually 5-10 minutes.
Lightly dust the dough, stamp and cutter with flour (or dip your stamp in flour and tap off the excess).
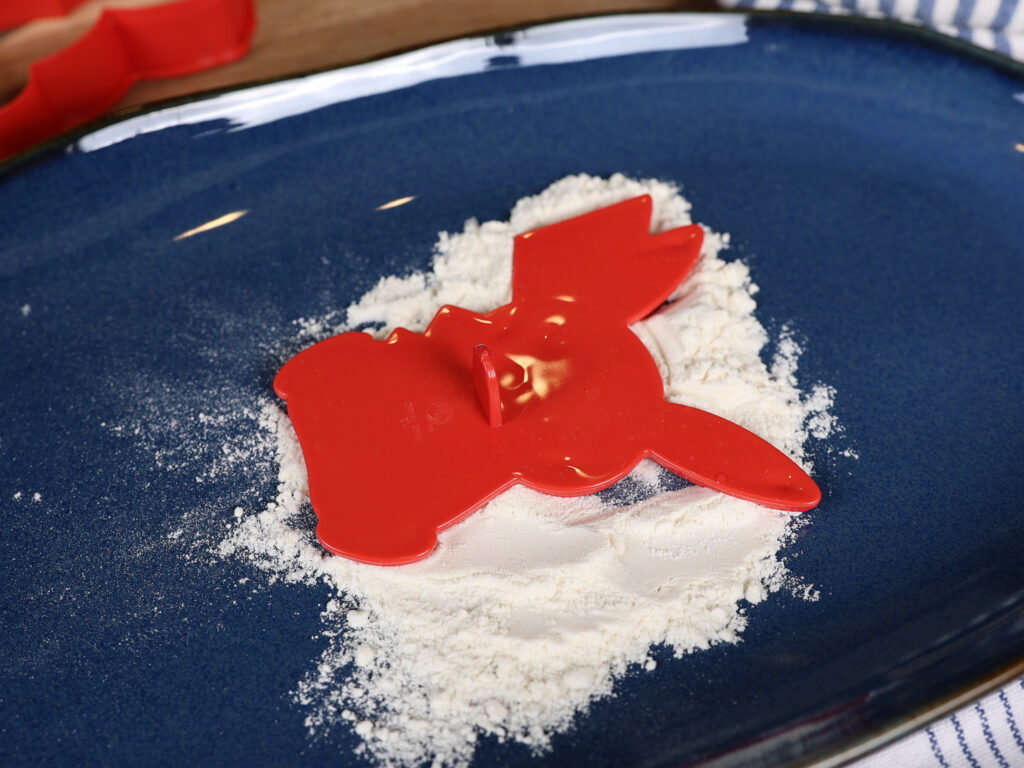
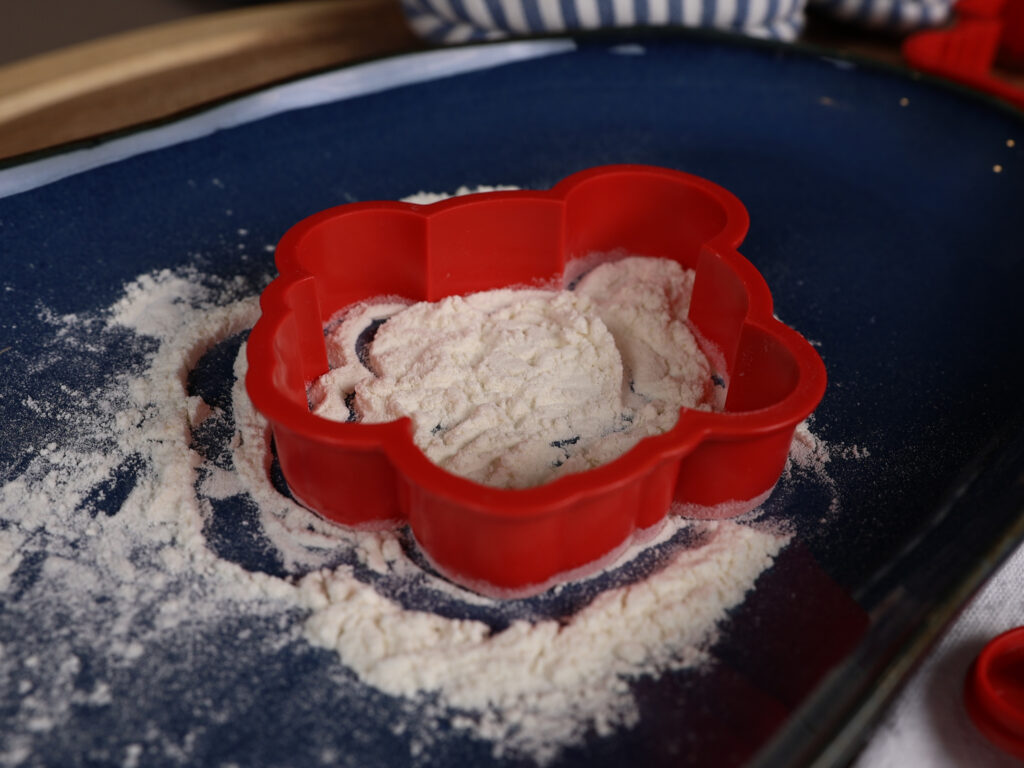
My favorite method for stamping and cutting:
Press the stamp into the dough (pressing on the top evenly) and leave it there. Then use the cutter to cut around it and leave it in the dough too.
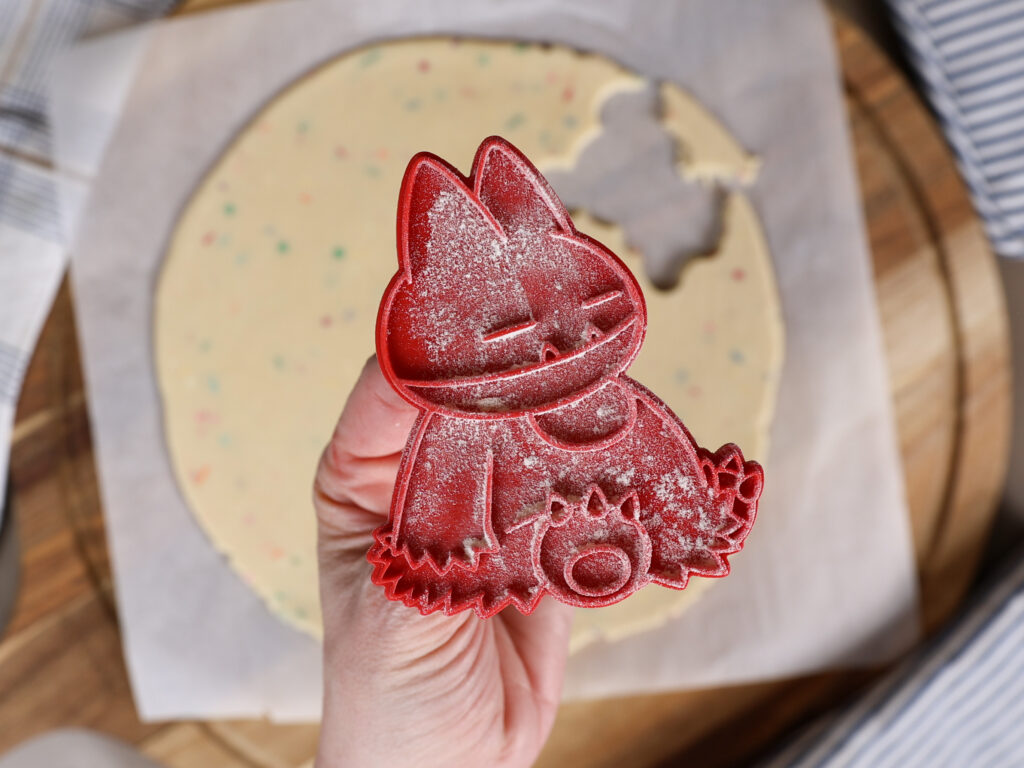
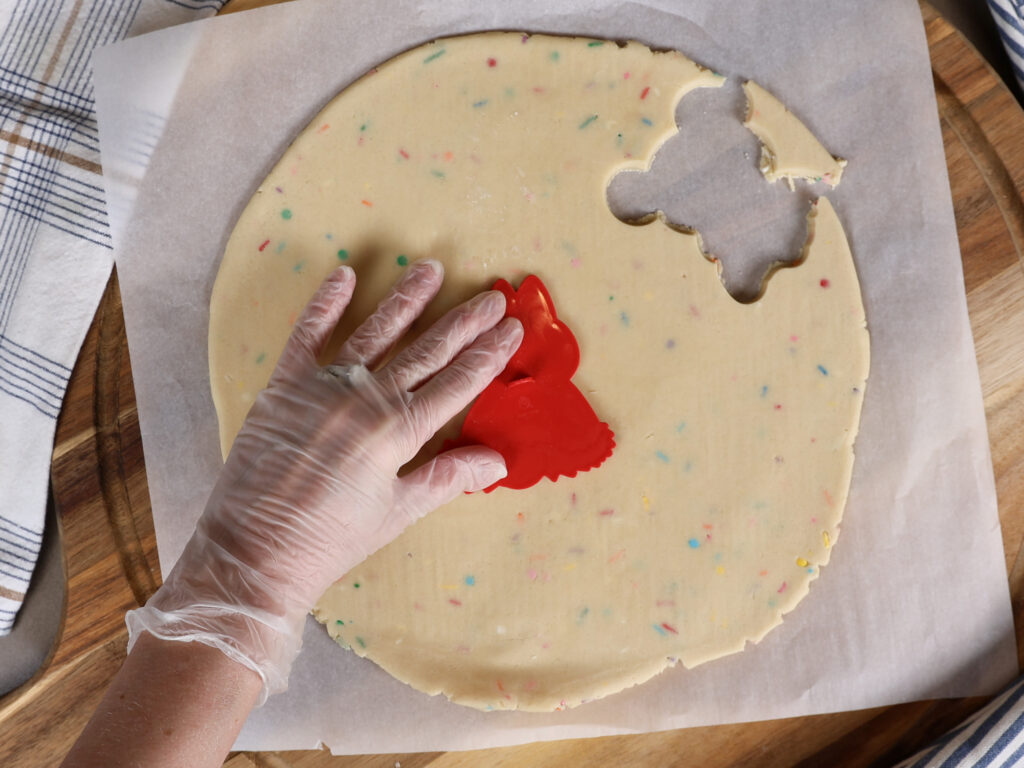
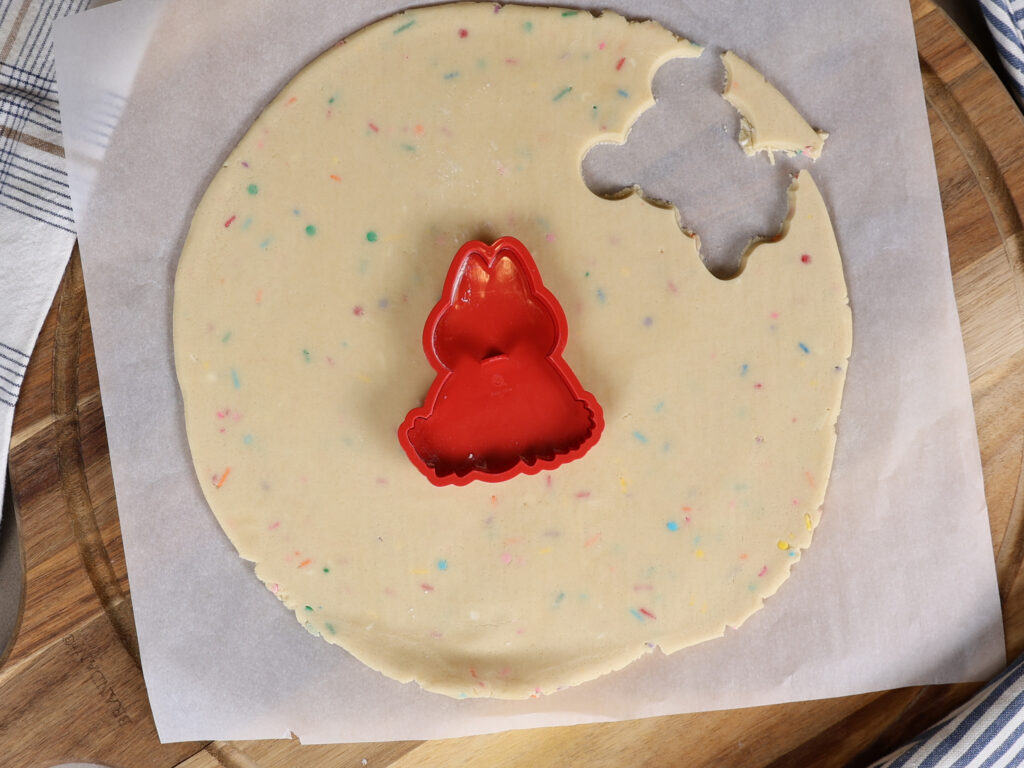
Lift the stamp and check the design. If it’s not stamped perfectly, you can re-stamp it and get it back into the right spot since the cutter is still there. (Be sure to dust with flour if needed.) Then remove the cutter. Voila! Look at that cutie!
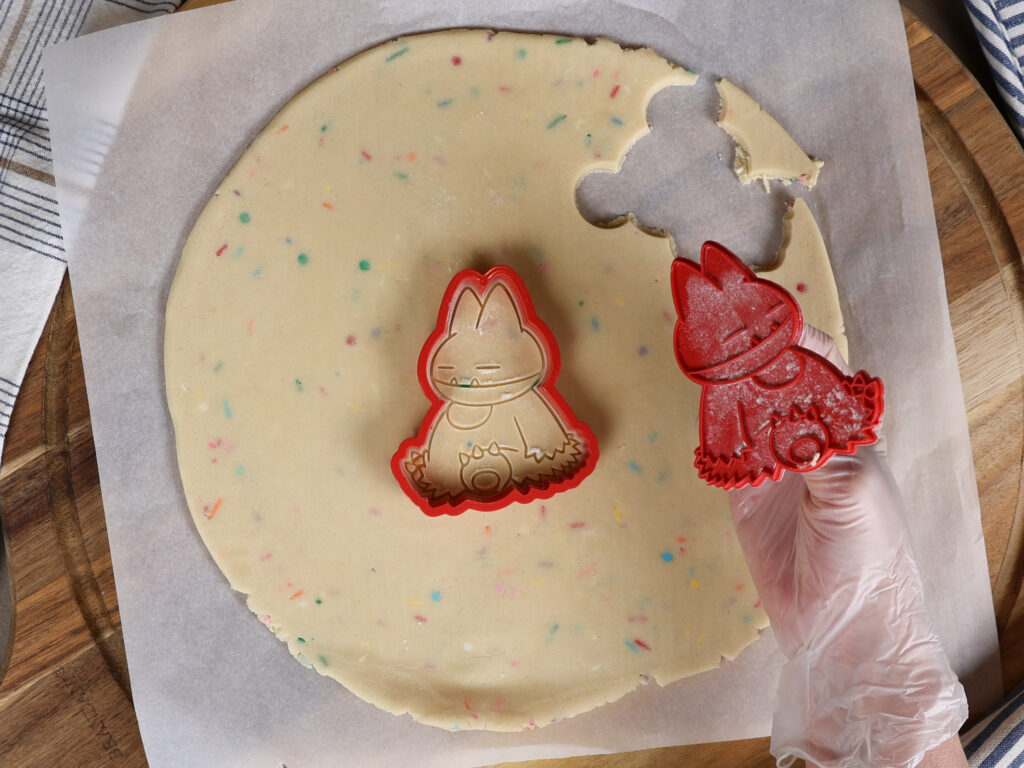
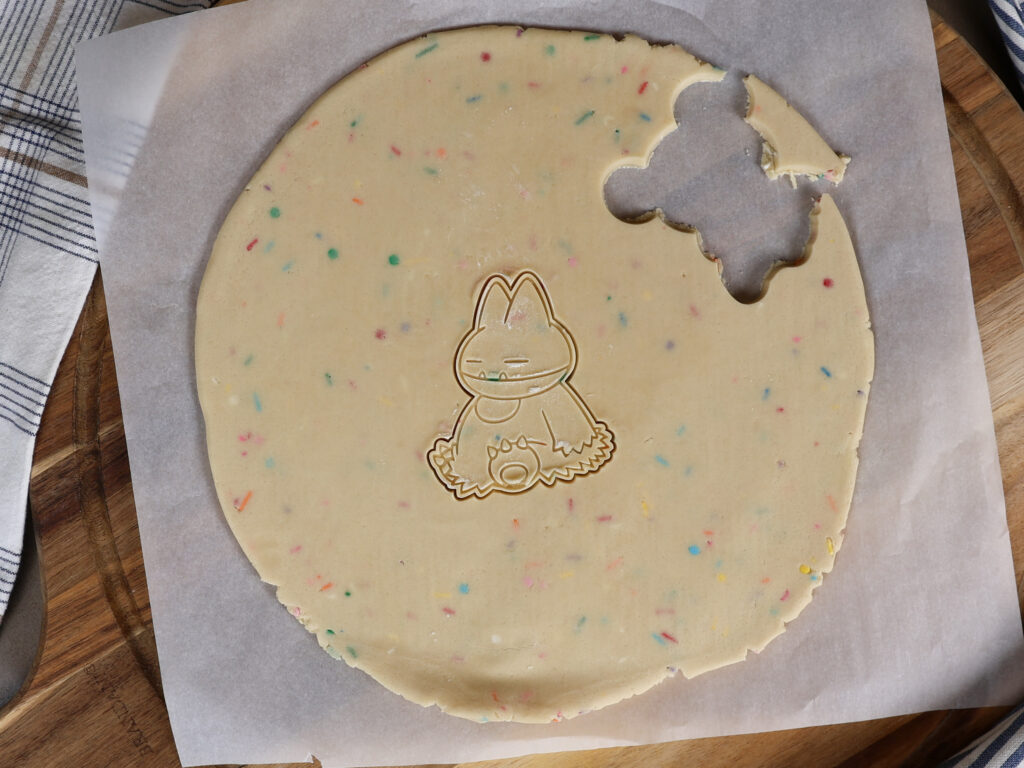
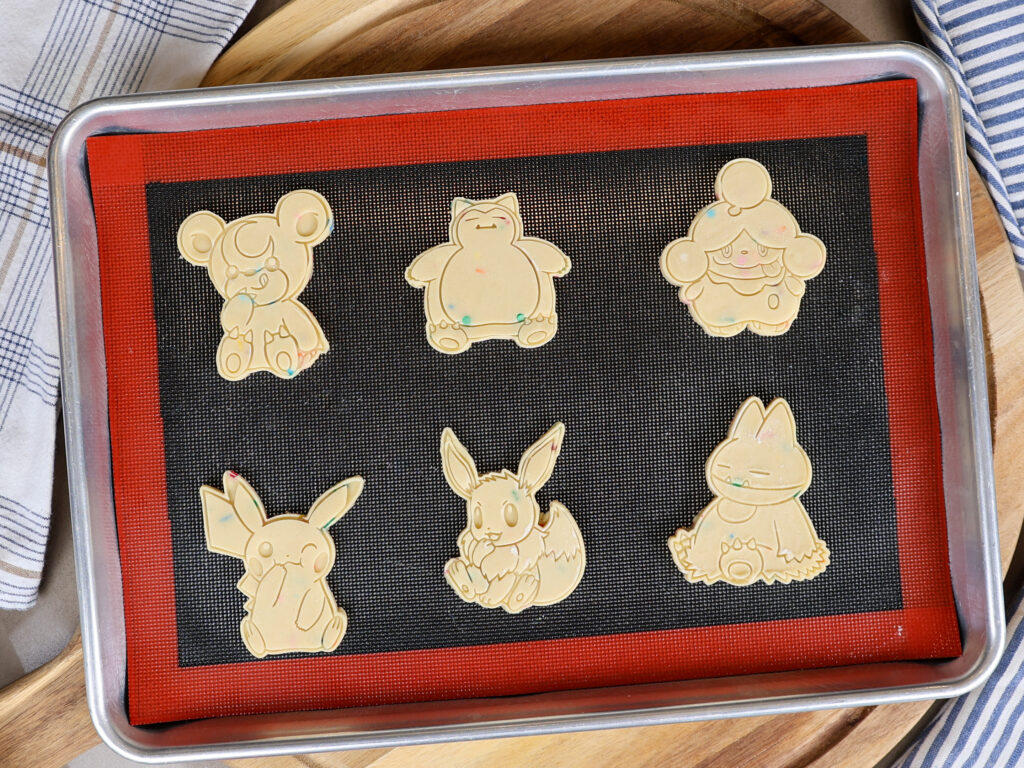
Transfer cookies to a baking sheet lined with parchment paper or a perforated baking mat.
8. The Second Chill + Reroll
Before baking, chill again. I usually re-chill them for about 10 minutes in the freezer while the oven preheats. This will help the cookies hold their cute shape while baking. (If your pan doesn’t fit in your freezer, refrigerator will work but make sure they’re completely cold before baking.)
You can reroll the scraps and repeat, just keep the dough cold. I know it’s lots of extra steps, but it makes a big difference, imo!
9. Bake
Bake at 350° until golden around the bottom edges. For 1/4” thick cookies bake for around 10-12 minutes. And thicker 5/16” thick cookies bake for around 13-14 minutes.
Let them cool on the pan for a few minutes, then transfer to a wire rack to cool completely.
Also, if any air bubbles have surfaced after baking, you can run the back of a fork over them to gently push them down while they’re still warm.
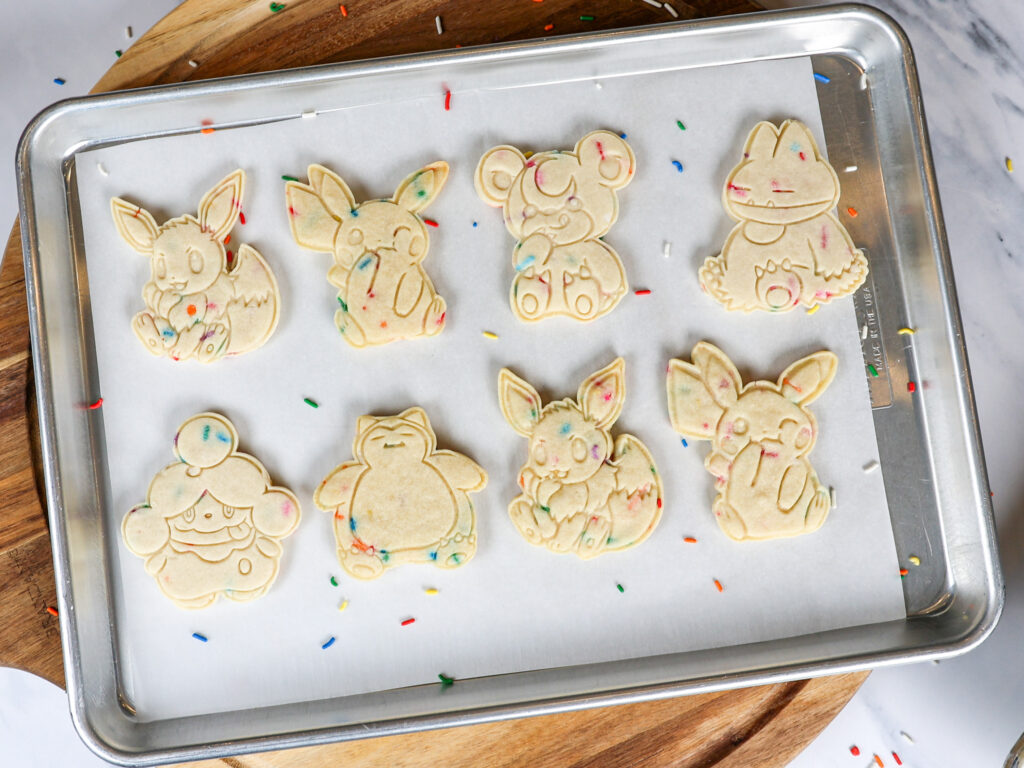
One other tip, try to use a nice, light colored baking sheet like this one. It makes a big difference. A darker pan will brown the edges of the cookies before they have enough time to bake all the way through.
10. Enjoy!
That’s it! Flavorful sprinkle cookies that actually hold their shape.
You can find all of my favorite cookie tools here. If you try out this recipe, please let me know how it goes!:)
Sprinkle Shortbread for Cookie Stamps
- Yield14-16 Cookies that are 3.5″ and 5/16″ thick
This sprinkle shortbread recipe is so easy. It’s crisp, full of sprinkles and holds its shape well, which makes it perfect for cookie stamps.
Ingredients
- 2 1/4 cups (288g) all-purpose flour (plus extra for dusting the dough as needed)
- Pinch of salt
- 2 tbsp cornstarch (16g)
- 1 cup (227g) unsalted butter, softened
- 3/4 cup powdered sugar (90g)
- 3/4 tsp LorAnn Cake Batter Super Strength Emulsion (this brand is the best emulsion)
- 3/4 tsp Watkins clear vanilla extract (any clear vanilla will work but this one is my fave)
- 2 tbsp colorful sprinkles (jimmies)
Instructions
1. In a medium bowl, whisk together the flour, cornstarch and salt (weigh the flour or use the Spoon and Level method). Set aside.
2. Using a stand or hand mixer, cream the butter and powdered sugar on medium speed until smooth and creamy.
3. Add the extracts and mix until fully combined, scraping down the sides of the bowl as needed.
4. Gradually add the dry ingredients, mixing on low speed until the dough comes together.
5. Add the sprinkles to the bowl and mix them in on low speed. Alert: taste your sprinkles before adding- some taste bad.
6. Place the dough between two sheets of parchment paper and roll to your desired thickness. I like mine 5/16” thick (a little thicker than 1/4”) but 1/4” thick will work too.
7. Transfer the rolled-out dough sheet to the refrigerator and chill for 1 hour.
8. Remove from the fridge and let it sit for 5-10 minutes so it softens but still has a chill to it. Stamp and cut into shapes. (Lightly dust or dip the stamps/cutters in flour to prevent sticking.)
9. Transfer the cookies onto a parchment-lined baking pan and pop into the freezer to chill again while the oven preheats. Preheat the oven to 350°F
10. Bake at 350°F until the cookies look set and are golden around the bottom edges. 10-12 minutes for 1/4” thick, or 12-14 minutes for 5/16” thick.
11. Let the cookies cool on the baking sheet for a few minutes, then transfer to a wire rack to cool completely. Enjoy!
You can find all of my favorite cookie tools here. If you try out this recipe, please let me know how it goes!:)