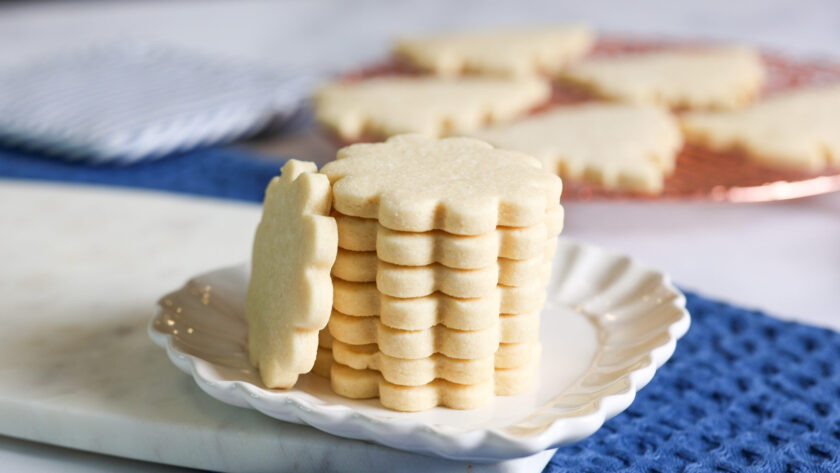
I’ve tested so many roll-out cookie recipes over the years, and this one is hands-down my favorite. It holds its shape beautifully and tastes SO good. These cookies are less sweet so they’re perfect for decorating with royal icing or buttercream frosting.
Ingredients You Probably Already Have
If you’re a baker, you likely have these pantry staples on hand:
- Sugar
- All-Purpose Flour
- Butter
- A touch of baking powder
- A pinch of salt
- One egg
- Vanilla and almond flavoring
Step 1: Mix the Dry Ingredients
Start by whisking together your flour, salt, and a tiny bit of baking powder. I only use a small amount to give the cookies the slightest puff without making them lose their shape. Once mixed, set that bowl aside.
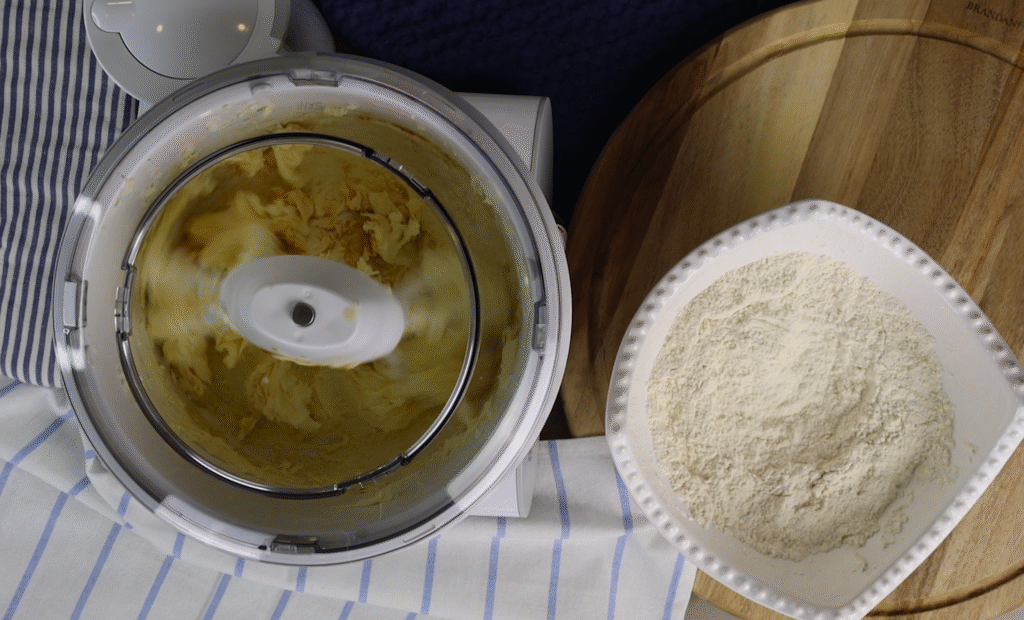
Step 2: Cream the Butter and Sugar (But Not Too Much!)
Add your softened butter and sugar to your mixer. Tip: don’t over-cream. I used to cream my butter and sugar for 4–5 minutes, but that causes the cookies to spread. Just mix until it’s fluffy and a bit lighter in color.
Step 3: Add the Flavor
Mix in your room temperature egg, 2½ teaspoons of vanilla, and ½ teaspoon of almond extract. I personally love Cook’s almond flavoring because it’s labeled allergen-free, and it tastes amazing.
Step 4: Combine Wet and Dry
Add the flour mixture to the butter mixture a little at a time. (If you’re wondering what mixer I’m using, it’s a Bosch. I still love my KitchenAid more, but this one has a handy lid.)
Step 5: Rolling Out the Dough
You can roll the dough between two sheets of wax or parchment paper. I use powdered sugar instead of flour to prevent sticking. Just don’t bake on wax paper.
My favorite rolling pin is adjustable. I set mine to 5/16″ for the perfect thickness every time.
Once rolled, pop the dough into the fridge to chill for at least 30 minutes (even better if it’s an hour!)
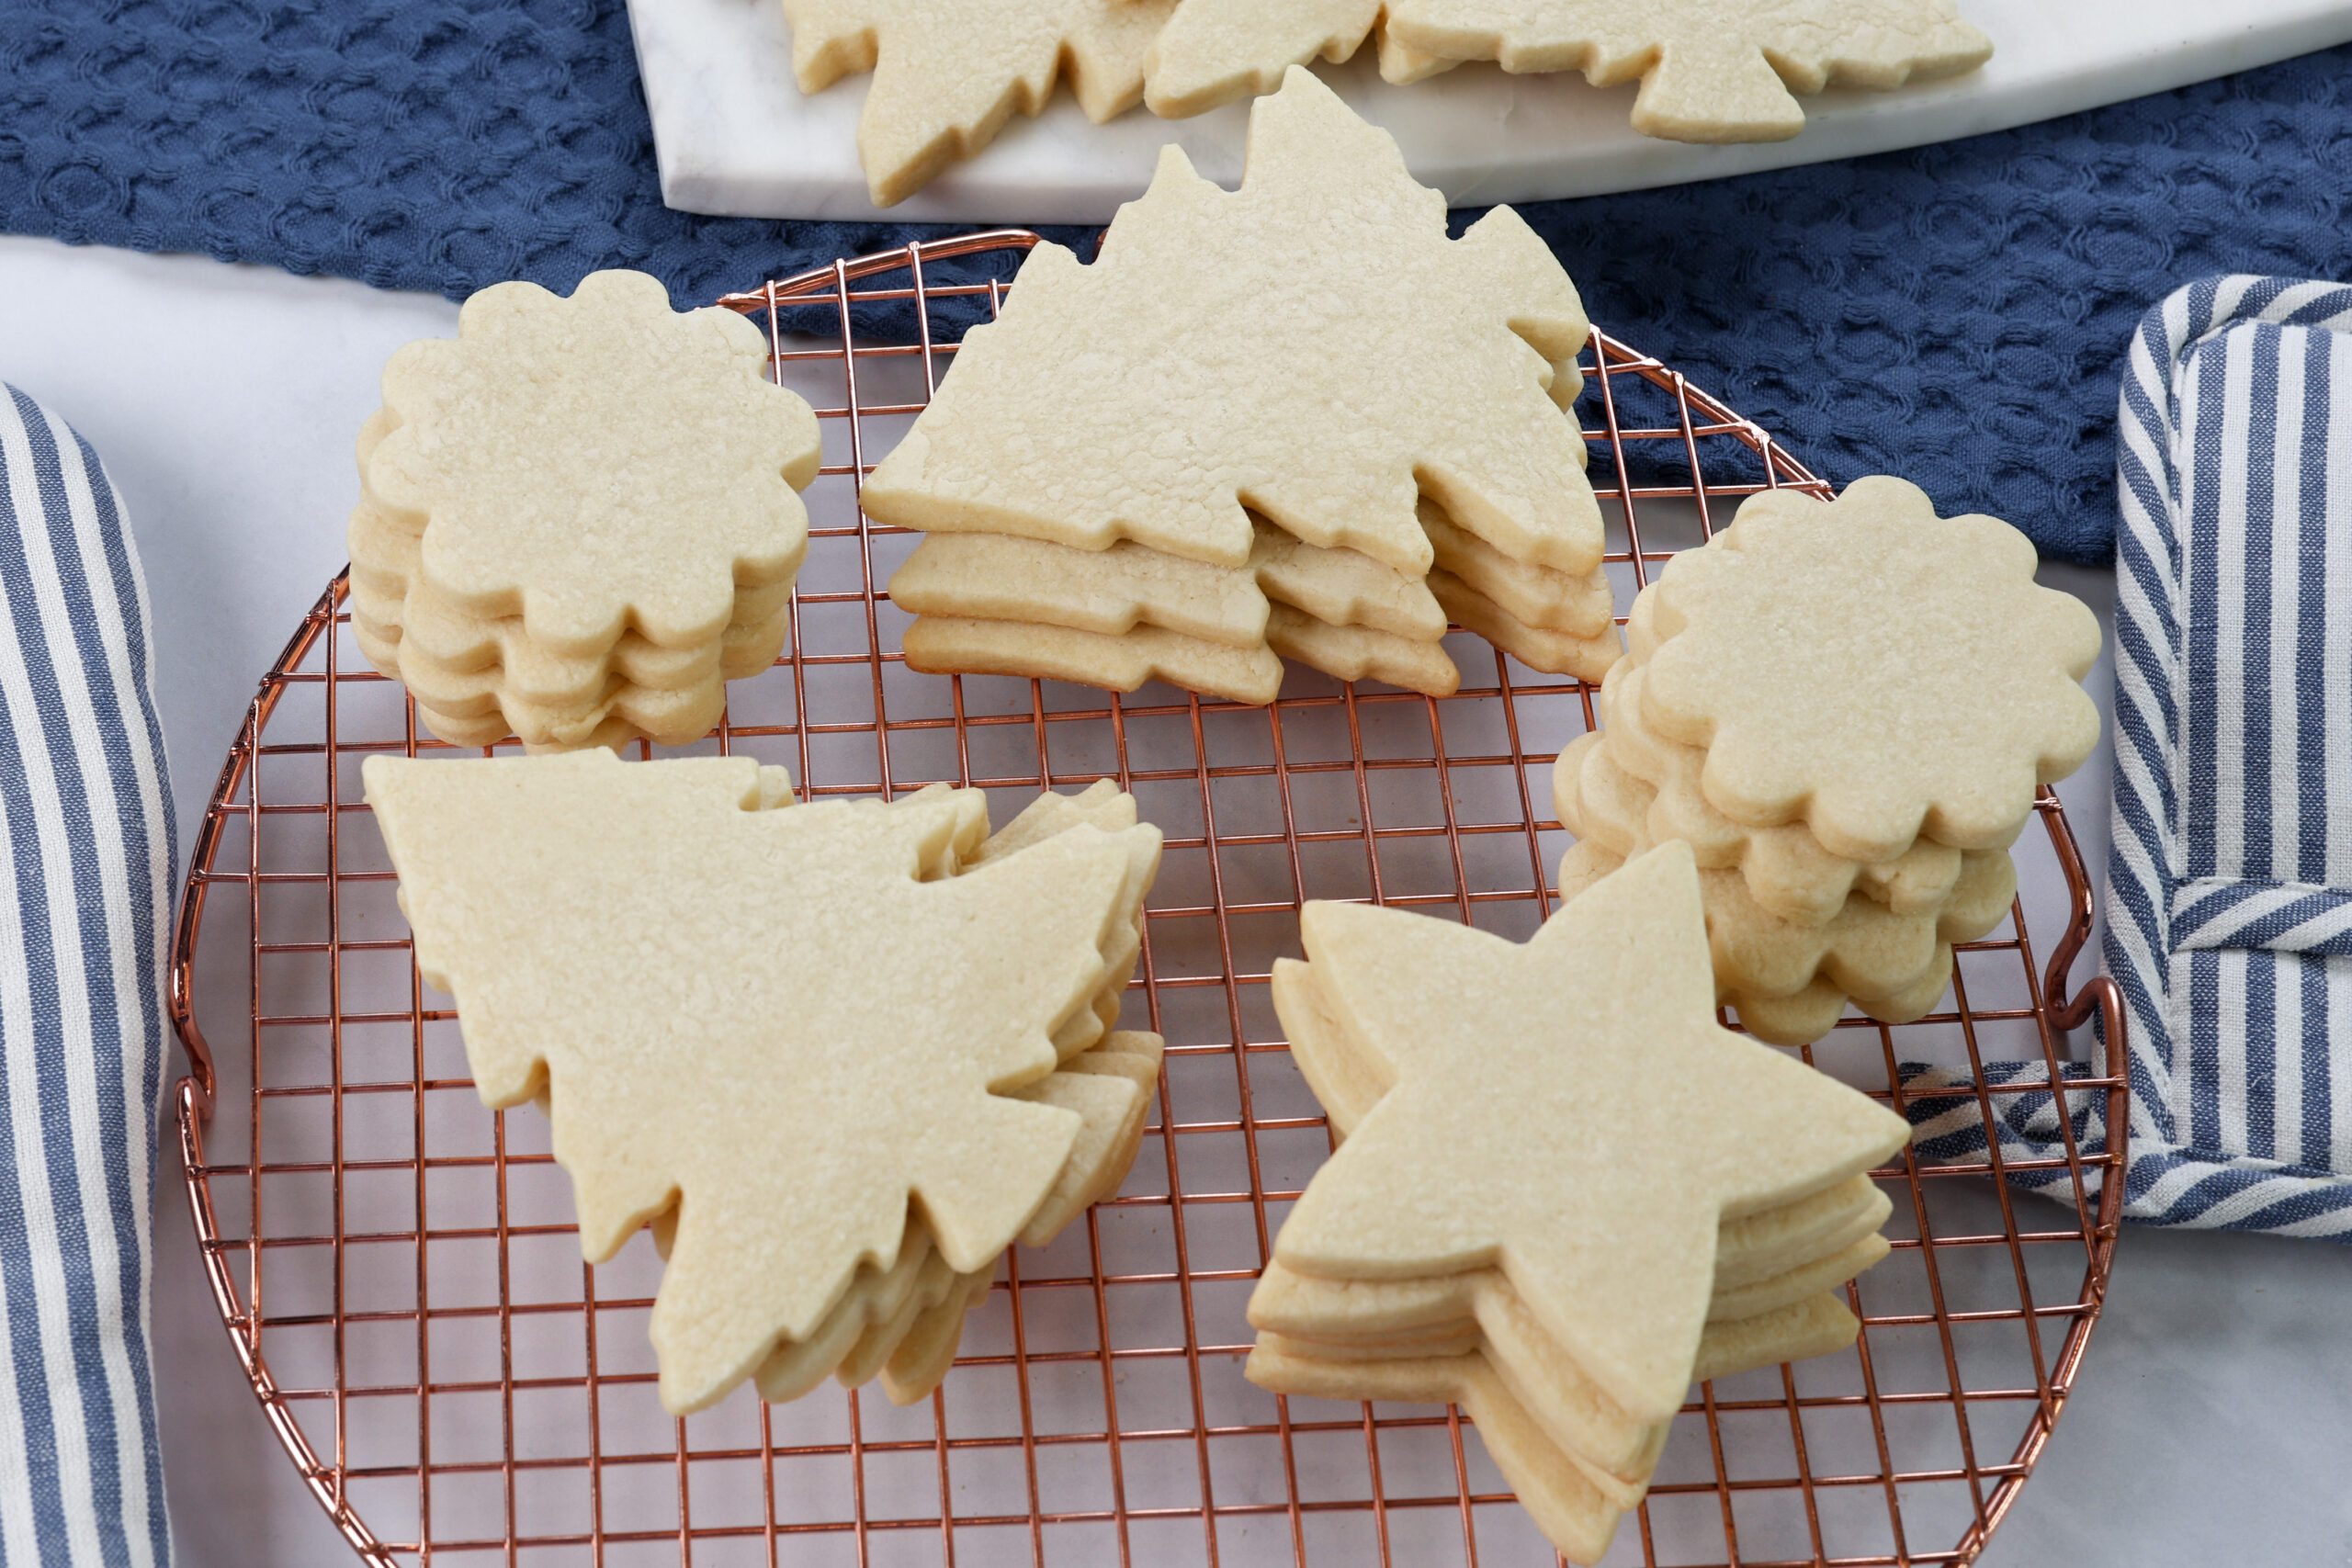
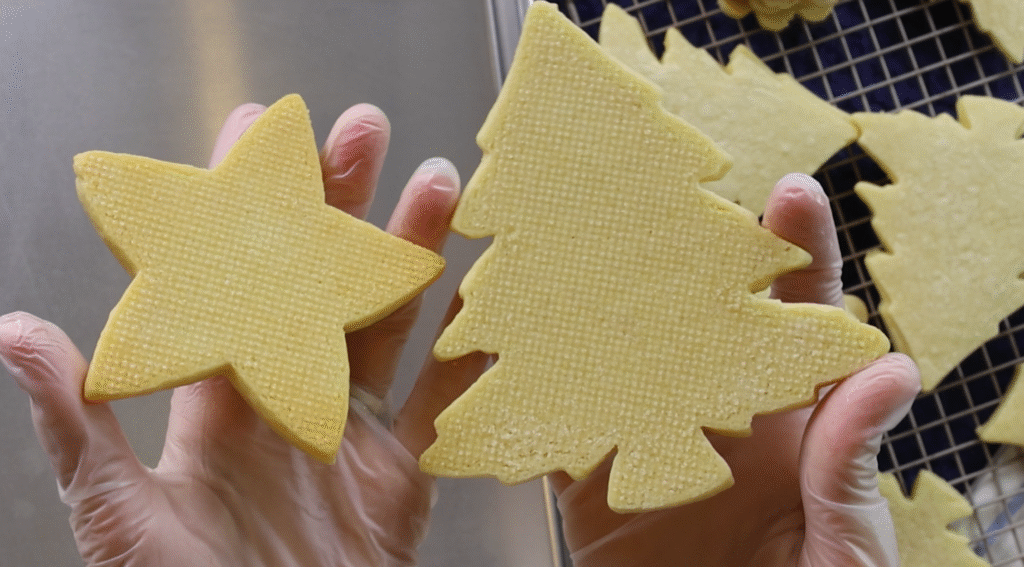
Step 6: Cut Out the Cookies
Time to bring out your cookie cutters! Since the dough is cold, it’s easy to cut and move shapes without losing detail. You can gather the scraps and re-roll, but I try not to re-roll more than 3 times so the texture stays perfect.

Step 7: Use a Perforated Baking Mat or Parchment Paper
This is one of my secret weapons, a perforated baking mat! It helps prevent sticking, ensures even baking and gives the back of your cookies the cutest little pattern. If you don’t have one, parchment paper works great too.
While you preheat the oven to 375°F, pop your cut cookies back in the fridge (or even better, the freezer!). You want them to go into the oven nice and cold.
Step 8: Bake!
Bake for around 7–10 minutes. I pull mine out once they’re no longer shiny on top. Be careful not to overbake, especially at 375°F.
Optional Trick: Smooth Things Out
If your cookies have air bubbles or are a little too domed, use a fondant smoother or spatula to gently press them down. Some people even flip their cookies over and decorate the flat (bottom) side!
The Best Roll-Out Sugar Cookie Recipe That Holds Its Shape (And Tastes Amazing!)
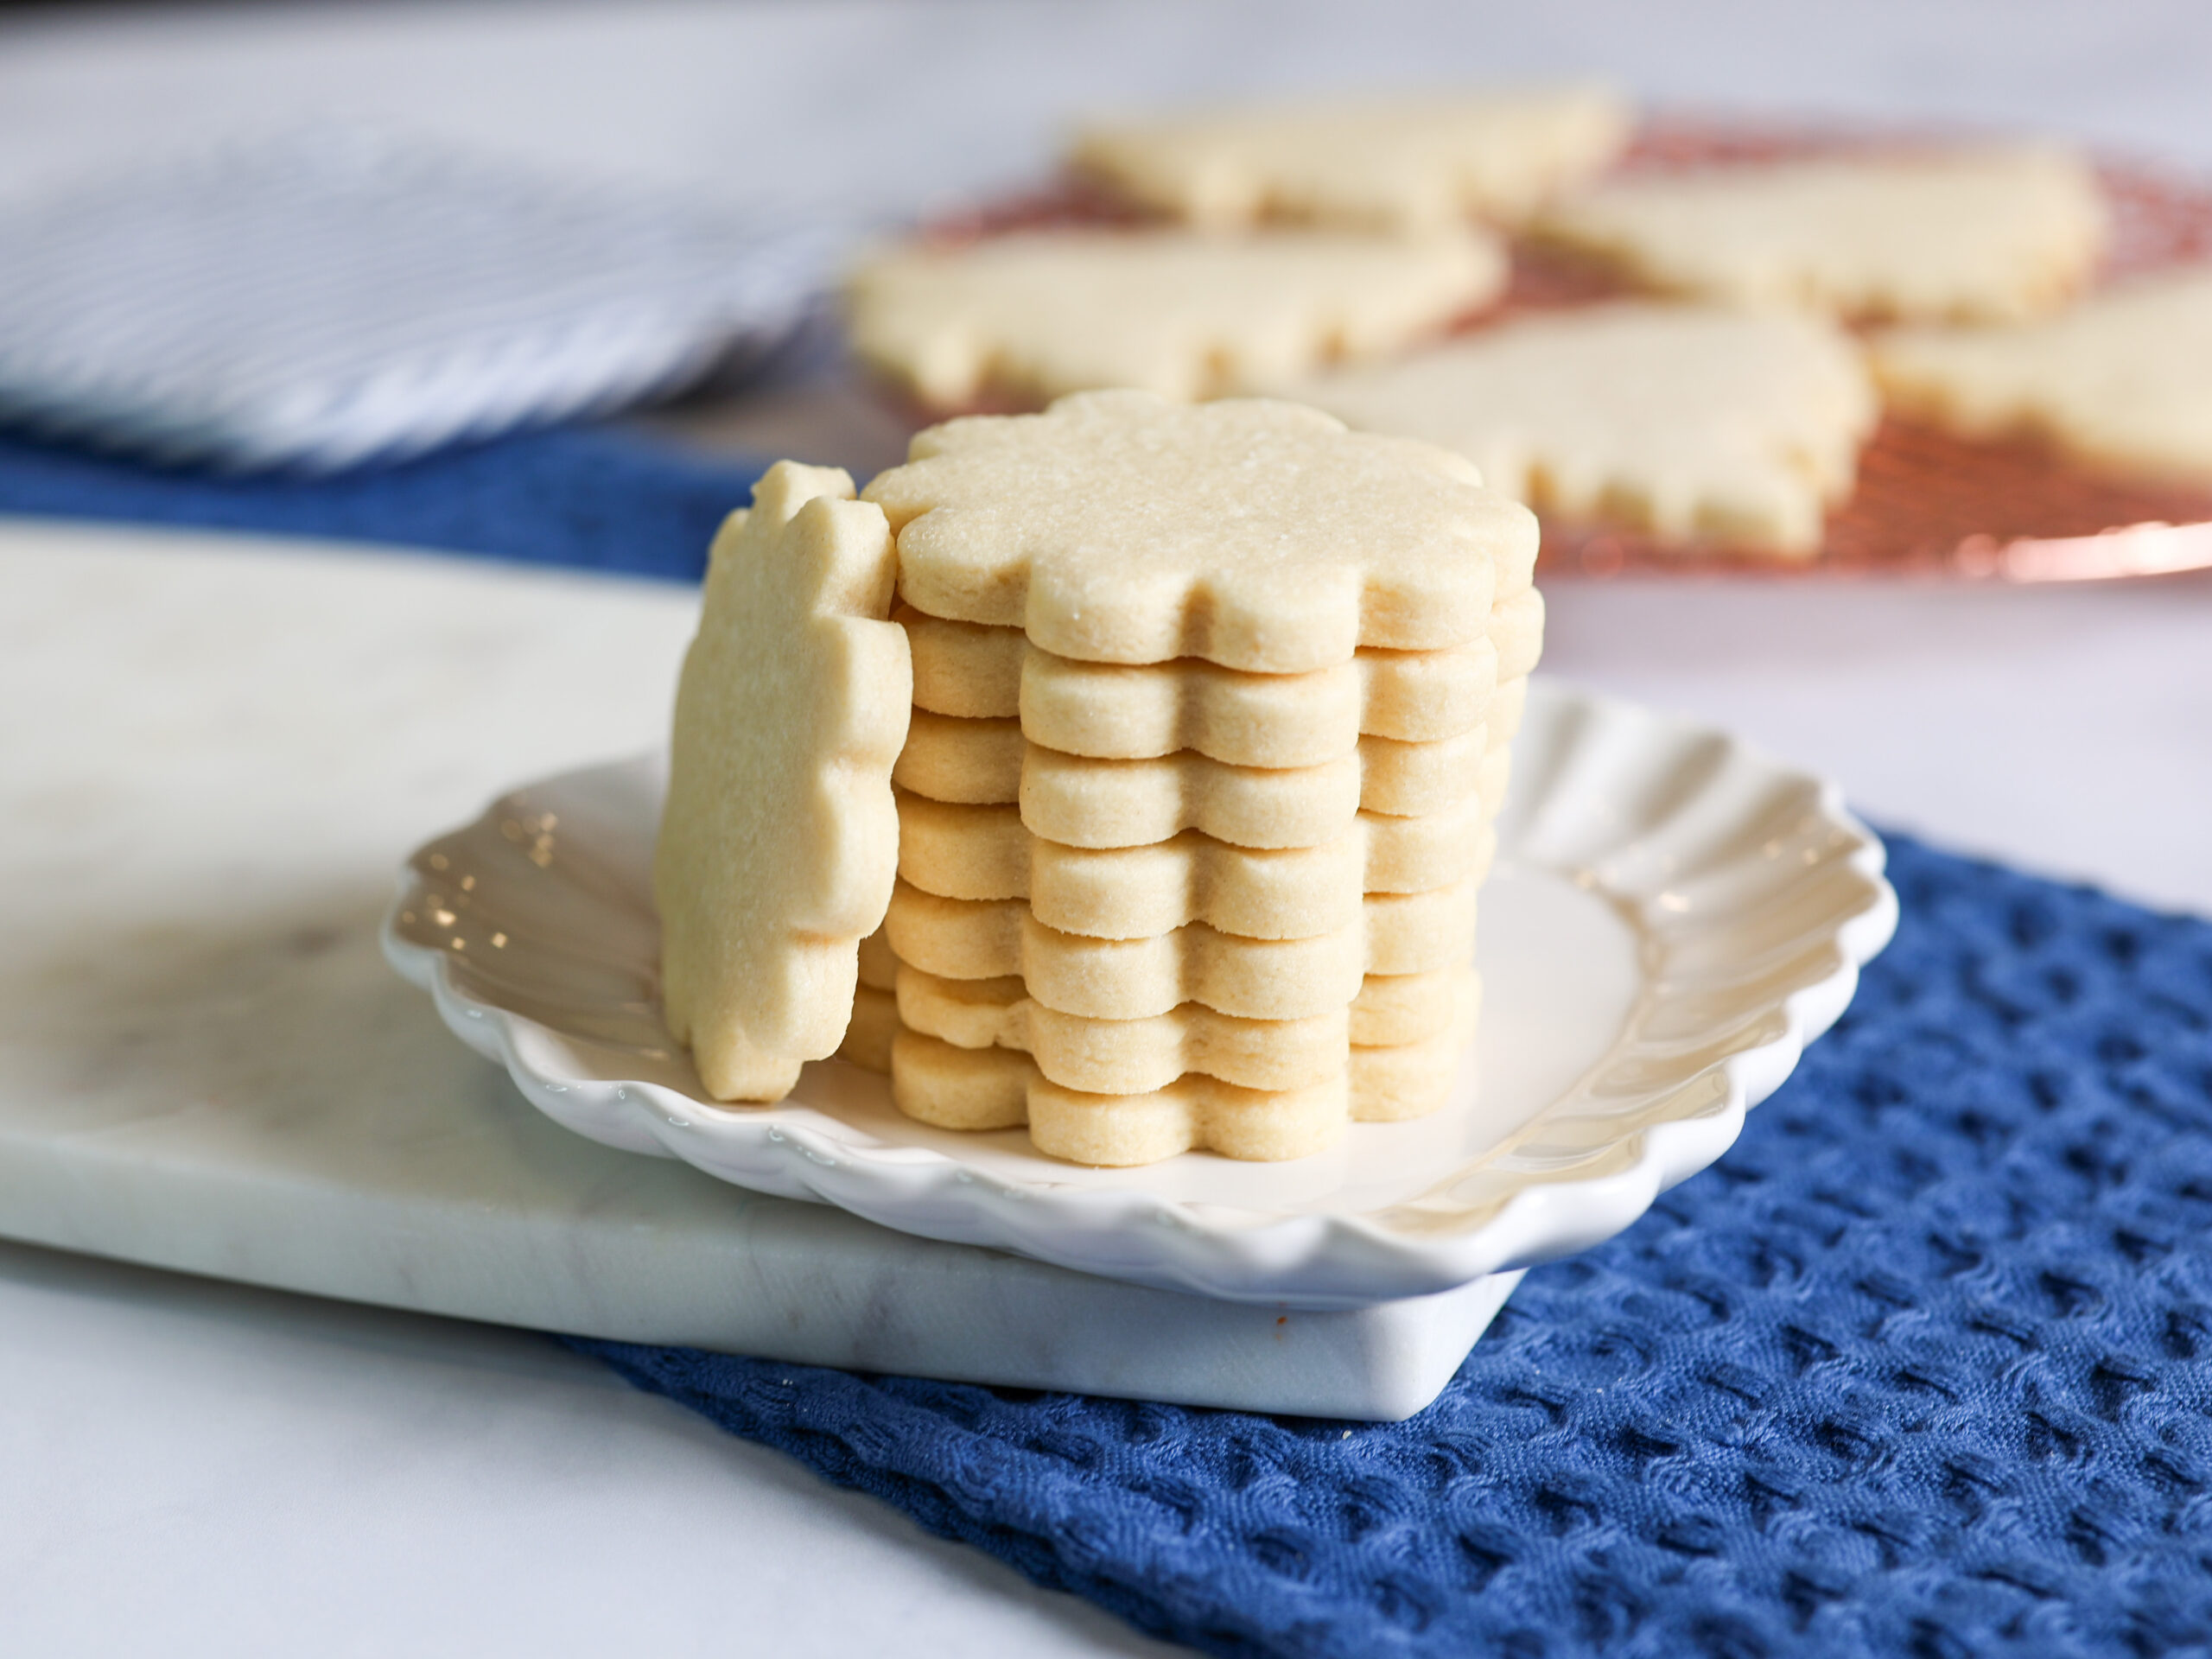
The perfect cut-out cookie recipe! It holds its shape beautifully and tastes SO good. These cookies are less sweet so they’re perfect for decorating with royal icing or buttercream frosting.
Ingredients
- 3 cups all-purpose flour
- 1/2 tsp salt
- 1/4 tsp baking powder
- 1 cup (2 sticks) unsalted butter, softened (but not melty)
- 1 cup granulated sugar
- 1 egg
- 2 1/2 tsp vanilla extract
- 1/2 tsp almond extract
Instructions
- In a bowl, whisk together the flour, salt, and baking powder. Once it’s all combined, set it aside.
- Add your softened (but not too soft) butter to the mixer along with the sugar. Mix together until creamed. Tip: don’t overdo it with the creaming! Over-creaming can make your cookies spread more, and we want them to keep their shape. Just cream until it’s fluffy and lighter in color.
- Add in the room-temp egg and the extracts. Mix until fully combined and scrape the bowl as needed.
- Gradually add the dry ingredients to your butter mixture, mixing slowly until it all comes together.
- Roll out the dough. Dust surface lightly with powdered sugar or flour, or even better, between two pieces of wax or parchment paper. My favorite rolling pin is adjustable, and I go with 5/16” for my favorite thickness but you can also go thinner!
- Pop the rolled-out dough into the fridge for about an hour. Chilling helps keep the cookies from spreading too much.
- Time to cut out the shapes! Cut them out close together to get the most out of your dough. Once cut, put the shapes on a cookie sheet lined with parchment paper or a perforated baking mat, and put them back into the fridge (or even better, the freezer) while the oven preheats. Combine the scraps and re-roll the dough and repeat the steps. Try not to roll out the dough more than 3 times because it changes the texture of the cookies.
- Preheat your oven to 375°F. Bake the cookies for about 8-10 minutes, or until they lose that shiny look on top. Be careful not to let them brown too much.
- Once baked, use a fondant smoother (or spatula) to gently press the tops of the cookies if any air bubbles have surfaced.
- Allow the cookies to cool on the pan for 10 minutes and then transfer to a cooling rack to cool completely. Once cooled, they’re ready for decorating (or eating)!
Storage: Store the cookies in an airtight container to keep them fresh up to 5 days. In my video, I recommended using a plastic nordic ware pan lid to keep the cookies fresh, but after using it for a few months, I prefer using a regular tupperware that locks tighter.
Freezing: You can wrap the dough up in plastic wrap and place in a freezer bag and freeze for up to a month. You can also freeze the baked cookies for up to 3 months.
Enjoy! And if you need a royal icing recipe, mine is here. Happy Baking!